Loom knitting is a fun and easy craft perfect for beginners, offering a relaxing way to create handmade items without traditional knitting needles. It’s accessible for all skill levels, providing step-by-step guides and patterns to help you start your journey. Whether you’re making scarves, hats, or other cozy projects, loom knitting is a rewarding hobby that combines creativity with practicality.
What is Loom Knitting?
Loom knitting is a versatile and accessible method of creating knitted items using a loom rather than traditional knitting needles. It involves casting yarn onto pegs arranged in rows or circles, then manipulating loops to form stitches. This technique is ideal for beginners, as it simplifies the learning process and requires minimal equipment. With various loom types, such as round or linear, you can create a wide range of projects, from scarves and hats to complex designs. Looms are user-friendly, making it easy to achieve professional-looking results without prior knitting experience.
Benefits of Loom Knitting for Beginners
Loom knitting is perfect for beginners, offering an easy-to-learn alternative to traditional knitting. It requires minimal equipment, making it affordable and accessible. The repetitive motion of loom knitting is calming and meditative, reducing stress. Projects work up quickly, providing a sense of accomplishment. Looms are portable, allowing you to craft anywhere. Mistakes are easy to fix, and the technique is forgiving for new learners. This method is ideal for creating scarves, hats, and other small items, making it a great way to build confidence and skills in knitting without the complexity of needles.
Essential Supplies for Loom Knitting
Easily start your loom knitting journey with basic supplies like a knitting loom, yarn, a knitting pick, measuring tape, scissors, and a yarn needle for weaving in ends.
Best Looms for Beginners
For beginners, the Knifty Knitter blue loom is an excellent choice, offering an affordable and user-friendly experience. Round looms with 24-peg (L gauge) or 41-peg (XL gauge) options are also popular, providing versatility for various projects. The 24-peg loom is ideal for quick, bulky yarn creations like scarves or hats, while the 41-peg model allows for intricate patterns and larger items. These looms are durable, easy to assemble, and come with clear instructions, making them perfect for mastering basic stitches and techniques. They are well-suited for crafting cozy accessories and home decor items.
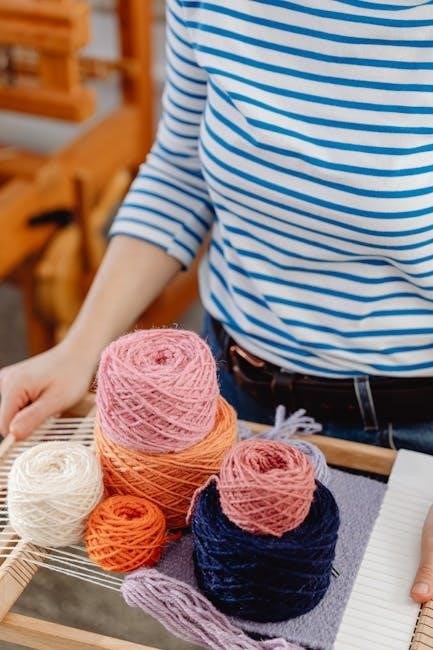
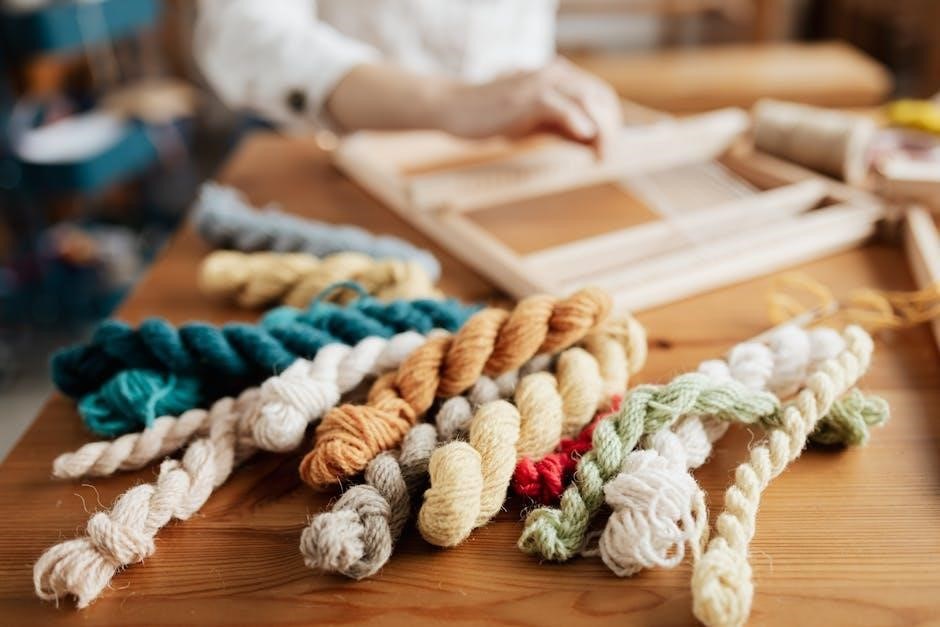
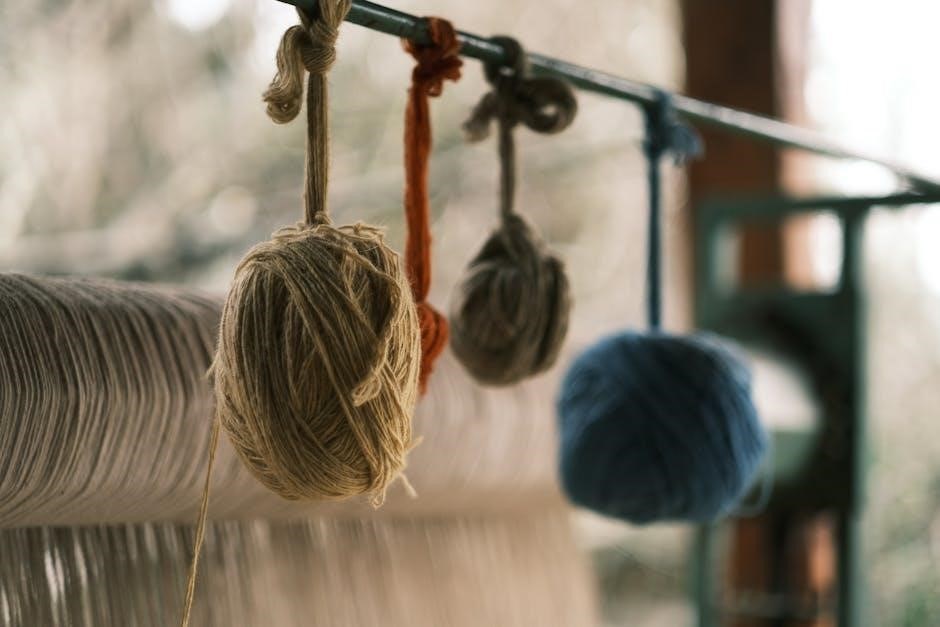
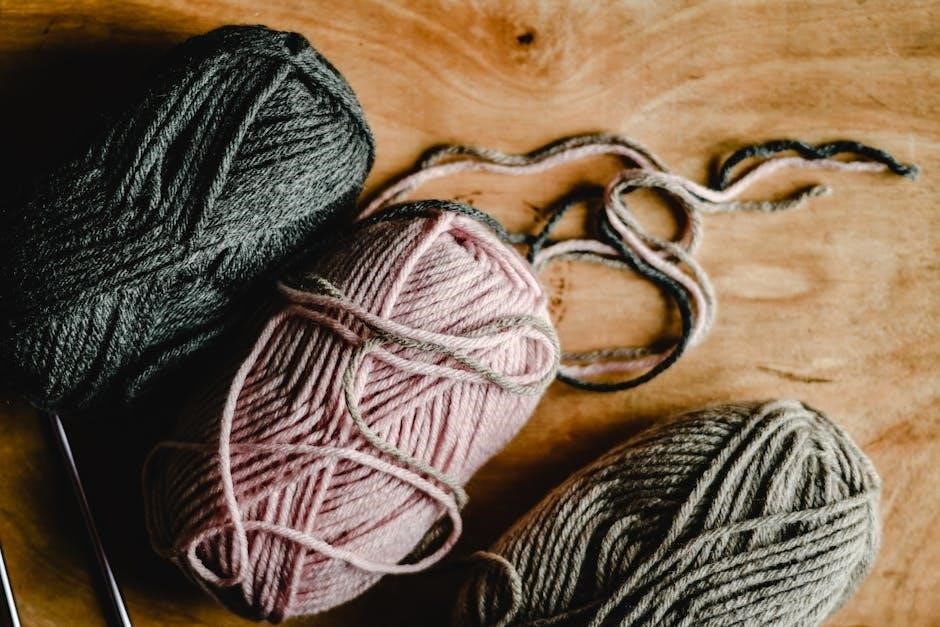
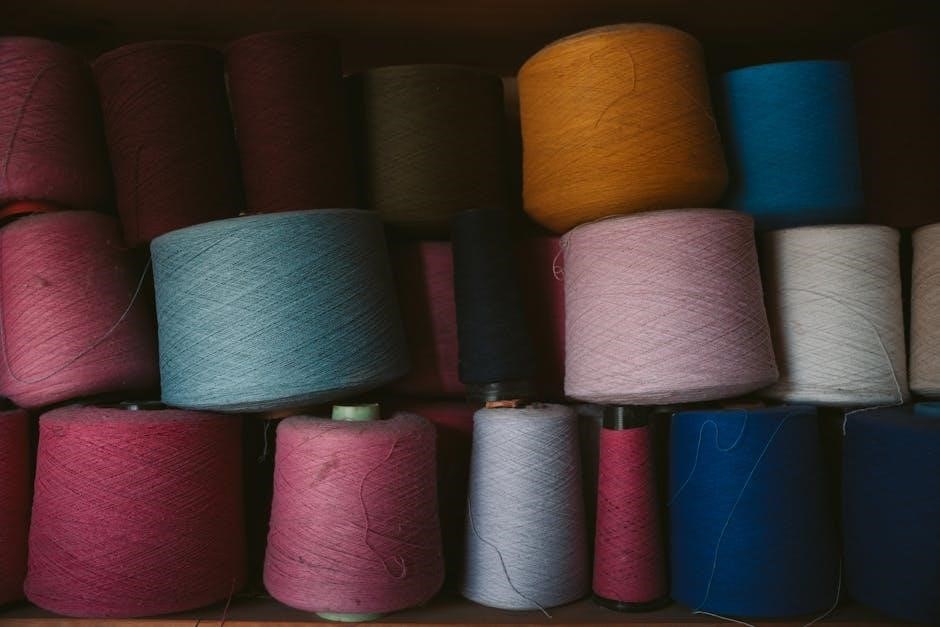
Choosing the Right Yarn
Selecting the right yarn for loom knitting is crucial for achieving desired results. Beginners should opt for medium-weight yarns with good stitch definition, such as acrylic, cotton, or blends. These yarns are easy to work with and forgiving. Avoid overly bulky or too thin yarns, as they can cause tension issues. Consider the project’s purpose—soft yarns for wearables and durable yarns for home decor. Always check the yarn’s care instructions to ensure it suits your needs. A smooth, consistent yarn will enhance your knitting experience and ensure your finished project looks professional.
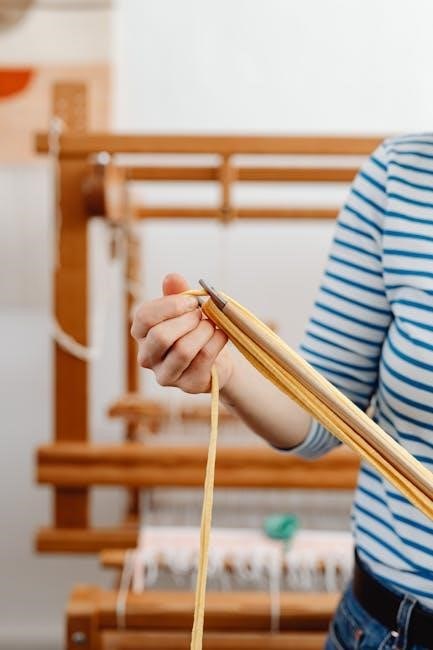
Other Necessary Tools
Besides the loom and yarn, several tools are essential for a smooth loom knitting experience. A tapestry needle is crucial for weaving in ends neatly. Scissors are needed for cutting yarn, and a measuring tape or gauge ruler helps ensure accurate sizing. Stitch markers are useful for tracking patterns or increases/decreases. A yarn needle can be handy for sewing seams. Optional tools include a crochet hook for fixing mistakes and a blocking mat for shaping finished projects. These accessories enhance efficiency and precision, making your knitting journey more enjoyable and stress-free.
Setting Up Your Loom
Properly setting up your loom ensures stability and even tension. Begin by assembling the loom according to the manufacturer’s instructions. Adjust the size if needed, and secure all parts tightly to prevent movement while knitting. A well-prepared loom is the foundation for successful knitting projects.
Understanding Loom Parts
A typical knitting loom consists of a frame, pegs, and a tensioning mechanism. The frame holds the structure, while pegs are where stitches are formed. Pegs can be fixed or adjustable, depending on the loom type. Some looms feature a rotating mechanism for circular knitting. Tensioning devices ensure even stitch tension. Additional parts may include a lever for securing yarn or a built-in gauge for measuring. Familiarizing yourself with these components is essential for proper setup and use. Understanding each part’s function will enhance your knitting experience and project outcomes.
How to Assemble Your Loom
Assembling your knitting loom is a straightforward process. Start by unpacking all components and referencing the instruction manual. Attach the frame pieces together, ensuring they are securely locked. Next, insert the pegs into the designated holes, making sure they are evenly spaced and tightly fitted. If your loom has a tensioning mechanism, adjust it according to the manufacturer’s instructions. Double-check that all parts are aligned and stable. Finally, test the loom by gently pulling on the pegs to ensure they hold firmly. Proper assembly is crucial for smooth knitting. Always follow the specific instructions provided with your loom.
Basic Loom Knitting Stitches
Mastering basic stitches like Garter, Stockinette, and Rib is essential. These simple patterns are versatile and form the foundation for more complex designs.
Garter Stitch
The Garter Stitch is a simple, textured pattern created by knitting every stitch in every row. It is perfect for beginners, as it requires minimal technique. To knit a Garter Stitch on a loom, start by casting on the desired number of stitches. Then, knit each peg in sequence, working row after row without purling. This stitch is versatile and works well for scarves, hats, and blankets. It is also forgiving, making it ideal for practicing tension control. The Garter Stitch creates a ridge-and-valley texture that is both visually appealing and easy to achieve. Start with this stitch to build confidence in your knitting skills. Always remember to keep your tension even for consistent results. This stitch is a great foundation for more complex patterns.
Stockinette Stitch
The Stockinette Stitch creates a smooth, flat fabric with a subtle sheen. On a loom, it is achieved by alternating knit and purl rows. To knit a row, wrap the yarn around the pegs in a forward motion. For a purl row, wrap the yarn in the opposite direction. This stitch is slightly more challenging than the Garter Stitch but still accessible for beginners. The Stockinette Stitch produces a fabric with a smooth side and a textured side, making it ideal for garments that require drape. Practice this stitch to expand your knitting capabilities and create versatile projects like scarves or sweaters. Keep your tension consistent to ensure an even fabric. This stitch is a foundation for more intricate patterns and designs. Maintain patience while mastering the purling technique, as it enhances your knitting skills. The Stockinette Stitch is a timeless choice for many knitting projects. Always count your stitches to avoid mismatches. Start with a small swatch to perfect your technique before moving to larger projects. This stitch is a great way to practice row alternation and yarn control. Enjoy experimenting with different yarn weights and colors to see how they affect the fabric’s appearance. The Stockinette Stitch is a versatile addition to your loom knitting repertoire. Use it to create elegant, modern, or classic designs. Keep your loom evenly tensioned to achieve professional-looking results. This stitch is a stepping stone to more advanced techniques, so take your time to master it. The Stockinette Stitch will become a go-to for many of your future projects. Happy knitting!
Rib Stitch
The Rib Stitch is a versatile and stretchy pattern perfect for hems, cuffs, and borders. On a loom, it is created by alternating knit and purl stitches in a single row. To achieve this, knit a peg, then purl the next, repeating across the loom. This stitch creates a textured, elastic fabric ideal for garments that need flexibility. It is easy to learn and works well with a variety of yarns. Practice the Rib Stitch to add dimension to your projects, such as hats, scarves, or sweaters. Keep your tension consistent for a smooth, even fabric. This stitch is a great way to add visual interest and functionality to your knitting. Experiment with different yarn weights to see how they affect the stretch. The Rib Stitch is a must-learn for any beginner, offering both practicality and style. Use it to create professional-looking finishes on your projects. Happy knitting!
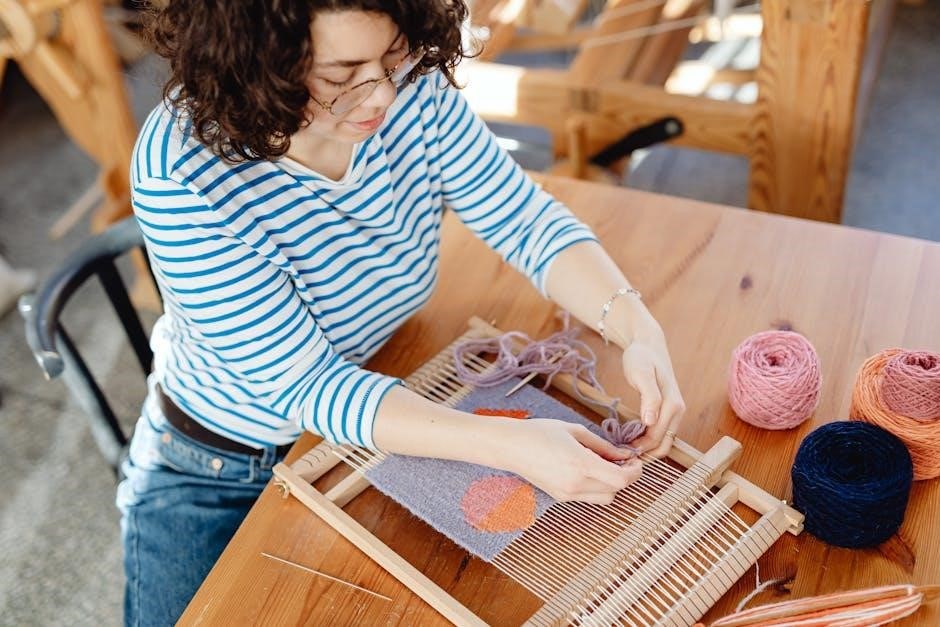
Step-by-Step Guide to Loom Knitting
Master the basics with this easy-to-follow guide, covering essential steps from casting on to binding off. Perfect for beginners to build confidence and skill.
Casting On
Casting on is the first step in loom knitting, where stitches are set up on the loom. Start by creating a slipknot on the yarn and placing it on the first peg. Hold the yarn in one hand, looping it around the pegs in the desired pattern. For a basic cast on, wrap the yarn around each peg in a consistent direction, ensuring even tension. Secure the last loop with a small stitch or tuck it under the first peg to hold it in place. Practice this step to achieve a neat and even foundation for your project.
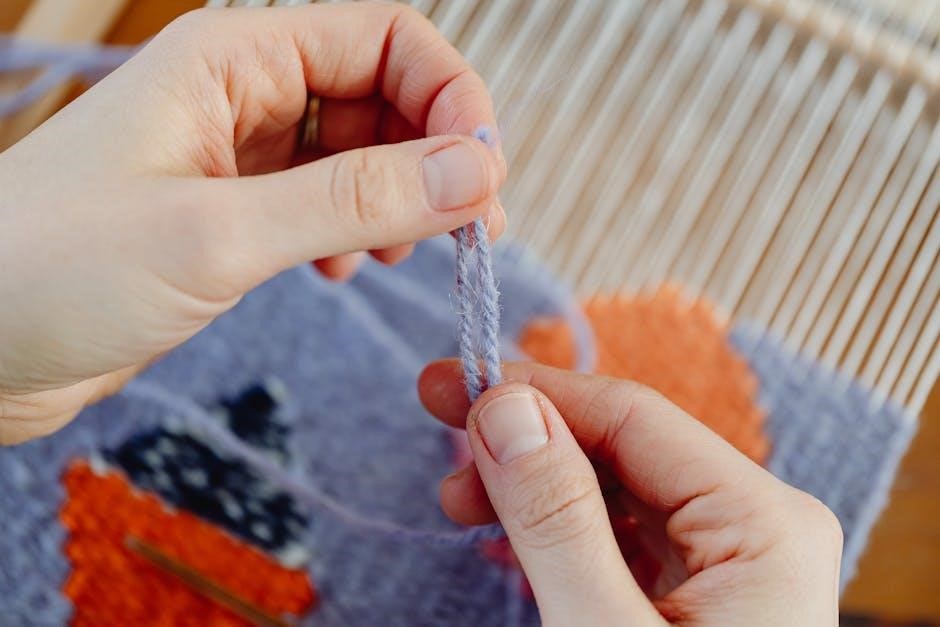
Knitting Your First Row
Knitting your first row on a loom involves wrapping the yarn around the pegs in a specific pattern. Start by holding the yarn in one hand and the loom hook in the other. Begin at the first peg, wrap the yarn around it, and pull it through to create a stitch. Repeat this process for each peg, moving from one to the next in sequence. Keep the yarn taut but not too tight to avoid puckering. Work slowly, ensuring each stitch is even and consistent. Use the loom hook to help guide the yarn and maintain control. This step sets the foundation for your project, so take your time to keep the tension balanced and the stitches uniform. Pay attention to the stitch count to ensure accuracy. By carefully knitting your first row, you’ll establish a smooth rhythm for the rest of your work. Remember, practice makes perfect, and soon this process will feel second nature. Don’t hesitate to adjust your stitches as needed to achieve the desired texture. Happy knitting!
Binding Off
Binding off is the final step in completing your loom knitting project. To begin, knit the first stitch and move the loop to the next peg. Pull the yarn through the loop to secure it. Repeat this process, moving from one peg to the next, pulling the yarn through each loop. Keep the tension even to avoid tightening or loosening the fabric. Once all loops are removed, pull the yarn tail through the last loop to secure it. Use a tapestry needle to weave in the yarn tail for a neat finish. Binding off neatly ensures your project lies flat and maintains its shape. Gently pull the fabric to even out the stitches if needed. Proper binding off is essential for a professional-looking finish. Always double-check your work before trimming the yarn. This step completes your project, ready for wear or gifting. Practice makes perfect, so don’t be discouraged if it takes time to master. Binding off is a satisfying conclusion to your knitting journey!
Simple Projects for Beginners
Start with simple projects like scarves, hats, or dishcloths. These very quick-to-complete items are perfect for practicing basic stitches and seeing results quickly.
Scarves
A scarf is an excellent first project for beginners, as it requires minimal shaping and allows you to focus on mastering basic stitches. Choose a soft, medium-weight yarn and a simple stitch pattern like garter or stockinette. Scarves are also forgiving, making them a great way to practice tension control. For a quick finish, use bulky yarn and larger loom settings. Once completed, you’ll have a cozy, handmade accessory to enjoy or gift. This project builds confidence and provides a sense of accomplishment, perfect for new knitters.
Hats
Hats are a fantastic project for beginners, offering a quick and rewarding experience. They help you practice working in the round and basic shaping techniques. Start with a simple beanie pattern, which requires minimal stitches and straightforward decreases. Hats are versatile, allowing you to experiment with different yarn weights and colors. Measuring head circumference ensures a proper fit. This project teaches essential skills like decreasing and seaming. Once completed, you’ll have a stylish, handmade hat to wear or share. It’s a great way to build confidence and expand your knitting abilities.
Other Easy Patterns
Beyond scarves and hats, explore other easy patterns like dishcloths, baby blankets, or fingerless gloves. Dishcloths are perfect for practicing stitches and texture. Baby blankets introduce you to larger projects while remaining simple. Fingerless gloves offer a small, portable option to practice working in the round. These projects build confidence and expand your skill set. They also make practical or thoughtful gifts. As you progress, these patterns help refine your tension and stitch consistency. They’re ideal for experimenting with colors and yarn types, keeping your knitting journey fun and engaging.

Tips for Avoiding Common Mistakes
Start with simple patterns and gradually increase complexity. Always read instructions carefully. Practice regularly to maintain consistency. Check your work often to catch errors early. Stay relaxed while knitting to avoid tight stitches. Use the right tools and yarn for your project. Watch tutorials if unsure. Keep patterns organized to avoid losing track. Celebrate small victories to stay motivated and improve steadily.
Tension Control
Maintaining consistent tension is key in loom knitting. Too tight, and your fabric may pucker; too loose, and it may lack structure. Always use the recommended yarn weight for your project. Practice knitting a gauge swatch to ensure even stitches. Keep the yarn at a comfortable tension—neither pulling too hard nor letting it sag. Regularly check your work as you go to avoid uneven rows. Relax your hands while knitting to prevent over-tightening. If tension issues persist, consider adjusting your loom settings or seeking guidance from tutorials. Consistent practice will help you master tension control over time.
Stitch Count Management
Accurate stitch count management is vital for successful loom knitting projects. Always count your stitches after casting on and at the end of each row to ensure consistency. Use a stitch counter or marker to keep track, especially for patterns requiring specific stitch numbers. If you notice a discrepancy, address it immediately to prevent errors. Regularly verifying your stitch count helps maintain the integrity of your design. Over time, this practice becomes second nature, ensuring your projects turn out as intended. Patience and attention to detail are key to mastering stitch count management in loom knitting.
Advanced Techniques for Beginners
Explore advanced techniques like cables and Fair Isle knitting to add texture and color to your projects. These methods are perfect for enhancing your creations and practicing step-by-step for impressive results.
Color Changes
Mastering color changes on a loom allows you to create vibrant, multi-colored designs. To change colors, work the last stitch of the old color, then pick up the new color and continue knitting. Always tie ends securely to avoid loose strands. Maintain even tension to prevent puckering. For seamless transitions, carry the yarn up the side of the work. This technique is perfect for stripes, patterns, or intricate designs, offering endless creativity for your loom-knitted projects. Practice color changes to enhance your skills and explore new visual possibilities in your knitting.
Adding Textures
Adding textures to your loom knitting projects enhances visual interest and depth. Techniques like alternating knit and purl rows create a ridged effect. Try varying yarn weights or stitch patterns for unique textures. Use bulky yarn for chunky designs or fine yarn for a smooth look. Experiment with cables or slip-stitch patterns for advanced textures. Proper tension ensures even fabric. Practice these methods on swatches to refine your skills. Incorporating textures allows you to personalize your creations, making them stand out with dimensional details and intricate designs that elevate your knitting to the next level.
Mastering loom knitting opens doors to endless creative possibilities. With practice, you’ll craft beautiful, functional items that bring joy to yourself and others. Happy knitting!
Final Thoughts
Loom knitting is a rewarding craft that combines creativity with practicality. For beginners, it’s a great way to start knitting without the complexity of traditional needles. As you progress, you’ll gain confidence and develop skills that open up endless possibilities. Remember, consistency and patience are key. Don’t hesitate to experiment with new patterns and techniques. The joy of creating something handmade is unparalleled. Keep practicing, and soon you’ll be crafting beautiful projects with ease. Happy knitting and enjoy the journey of creating something truly special!
Encouragement to Keep Practicing
Loom knitting is a skill that grows with practice, and every stitch brings you closer to mastery. Celebrate small victories, like completing your first row or finishing a simple project. Mistakes are part of the learning process, so don’t be discouraged—each one is a step toward improvement. Set realistic goals and enjoy the journey. The more you knit, the more confident you’ll become. Remember, the joy of creating something with your own hands is incredibly rewarding. Keep going, and soon you’ll be hooked on this versatile and fulfilling craft!